Step 3: Connect to the Cloud
Your local project has been created. Now, we must complete the most critical step: linking it to your Shen Island account and the cloud map. Only then can you upload your code to the game.
This process consists of two steps: ① Log in to your account -> ② Link the map.
1️⃣ Log in to Your Shen Island Account
Launch the Login Window
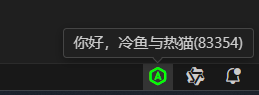
- In the bottom-right status bar of VS Code, locate and click the orange
Arenaicon. - Select
Log in to Shen Island Accountfrom the pop-up menu.
- In the bottom-right status bar of VS Code, locate and click the orange
Browser Authorization: VS Code will automatically open your browser and redirect you to the Shen Island authorization page. Click "Allow" to grant permission.
Login Successful: Return to VS Code, and you’ll see the
Arenaicon in the status bar turn green, displaying your nickname.
2️⃣ Link the Extension Map
Once your account is logged in, we can bind this project to one of your maps.
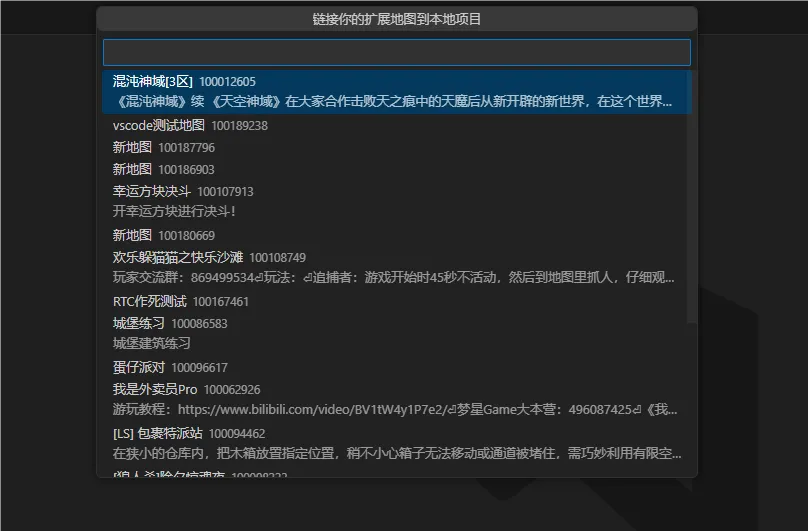
- Start the Linking Wizard: Press
F1in VS Code, then enter and select theProject Link Map Configurationcommand. - Select a Map: VS Code will immediately display a list of all available extension maps under your account.
- Choose the target map you want to link from the list.
- If the map has multiple sub-maps, a secondary list will pop up for you to select the specific sub-map.
- Linking Successful: After selection, the plugin will automatically write the map information into the project configuration file (
dao3.config.json).
✅ Connection Successful
At this point, your local project is fully linked to the cloud map! All preparations are now complete.
Now, let’s officially begin the exciting coding phase. Please proceed to the next chapter: HelloWorld: Your First ArenaPro Program.
You have now completed the ArenaPro quick-start guide. You can move on to the next tutorial and start real coding practice.